Friday, April 29, 2011

Surprise Birthday Hop for Peggy of PWCO

HAPPY BIRTHDAY TO PEGGY

Surprise surprise~~ Welcome to today's birthday hop especially made for the PWCO Boss Lady ((Peggy))!!! Among the PWCO DTs, we prepared this surprise blog hop to celebrate Peggy's special day and if you are coming here from our PWCO sketch queen BELLA'S BLOG, you are in the right track, otherwise, please start this hop from the PWCO Blog. You can also scroll down to the bottom of this post to find the complete blog list.

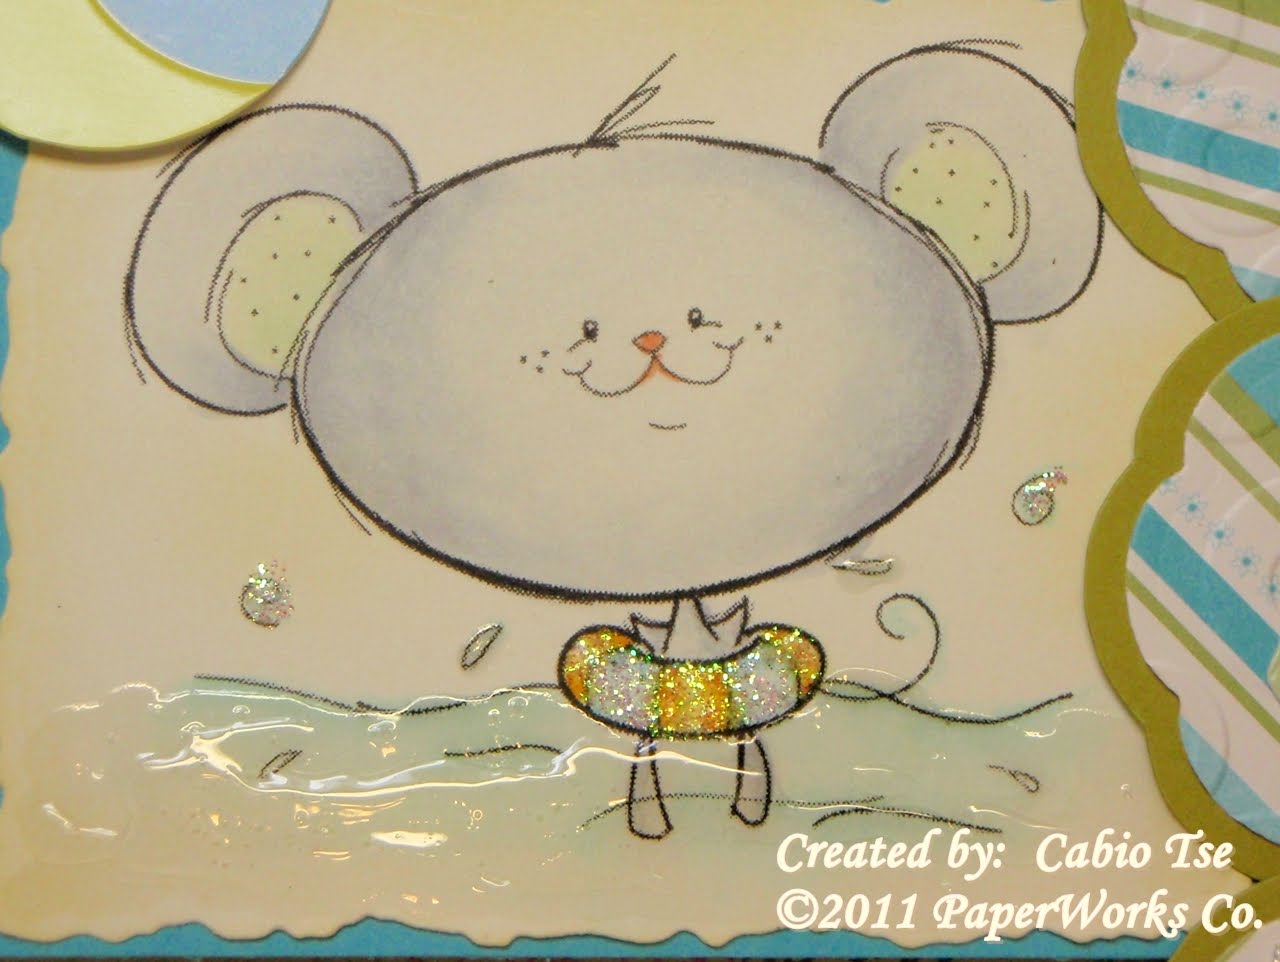
For Peggy's birthday, I made a twisted mini 4" x 4" birthday easel card using two of the PWCO stamps. These cute stamps are Carlos the Crab and Ollie the Octopus of the Aqua Amigo series.

Here is my finished mini twisted easel


Closer view on these cute PWCO images

Closer view on the top & bottom page of this card

Side view of the card


Thank you for stopping by here and your next stop is to our sweet CARISA'S BLOG. Have fun visiting her and see what wonderful project Carisa prepared for you today.

For your information, here is the complete blog list for this hop:

PWCO Blog - Start your blog here
Alice
Bella
Cabio - you are here
Carisa
Danielle
Kerri
Nicole
Stephanie

Thursday, April 28, 2011

Sponge Cloud Background Tutorial

Good morning everyone. I received a few emails asking how to do my sponge cloud background on cards I posted lately, so today is a tutorial post for sponge cloud background. For your informaion, here are the two sample cards I used this technique:

Material I used:
Stamp image - Magnolia Tulip Walkway
Paper used for background (stamped image on paper first)
Distress Ink (I used Broken China as my sample for this one)
Sponge or finger sponge
White Cardstock - I used X-press it blending card (You can use whatever white cardstock you normally use)
cut the edges of the clouds by hand on some scrap pieces of paper as template


First, lightly touch the sponge on the ink pad, so you don't get too much ink


Put the cloud template on top of the background paper, rub the inked sponge along the cloud edge gently in a circle motion. (see picture on the left)
You can rub some area harder than other, so you it will give some dynamic touch rather than all in same colors. (see picture on the right)


After you finished the first edge, move the template down, but instead of lying it in the same spot, move it left or right more, so it will add more contrast. (see picture below)


Keep working along from top to the bottom


When it comes to the bottom closer to the edge of the image, just rub the sponge as close as the image, but don't rub over top. See the picture on the right? There are still some empty spaces on top of the tulips, so try to fill up the empty spaces as much as you can.


Here is the finished sky background.


It's a very simple technique and it's a great way filling up space, lol Ok, thank you so much for stopping by and hope you get a chance to try this technique out and have fun :o)

Wednesday, April 27, 2011

Magnolia Mini Tilda Card Fronts

Good morning everyone. Diana from Magnolia-licious have asked the DT to prepare some card fronts for her to bring over to CHA. I have a couple sample card fronts made to share with you today.

Here is a little summer outdoor scene I made for Mini Tilda with Big Ribbon. She is such a cutie. Since the weather gets nicer, I wanted to set her in an outdoor theme. I picked the Tulip Walkway for background and sponge some blue ink to create some cloud for the sky. I bought a bunch of cute Echo Park DPs from my friend CAROL'S STORE. One of these paper has some banner prints, so I cut the banner out and arranged them on top.


Closer view of this cute Tilda. The ribbon & matching bee brads were purchased while I was at the Scrapbook Expo earlier. If you are wondering how to do the cloud background, please come back tomorrow for the tutorial post.


Flat view to show you the dimension


Here is another card front I made and this one. There are three images I used on this one. They are Tilda in the Garden, Trees in a row and Lamp Post. I love cut out my images, so I can arrange them wherever I like.


Closer view on these fun stamps


Flat view to show you the dimension of this card front


That's all I have to share with you for today and hope you get a chance to create some fun projects with these cute mini stamps. Thank you for stopping by and enjoy your days :o)

Monday, April 25, 2011

Magnolia-licious Inspiration Challenge Cowgirl Tilda Card

Hello everyone!! Do you get a chance to join us at the Magnolia-licious Color Challenge for these past two weeks? These two weeks past fast and now is the Magnolia-licious Inspiration Challenge. If you still remember, our sweet DT member Pat is the host of this month's challenge.

She got this inspiration photo to challenge us to create project.


I have to tell you that this picture is a bit challenge to me. It took me a bit longer to plan how I should do this card. Since I saw cute girls and the carousel on the picture, I thought of the Cowgirl Tilda that I got from Magnolia-licious. Therefore, I decided to use her as my image. However, there is the Carousel Horse which I thing it would be great to use too, so I might also making more cards with that Carousel Horse image and post in a later date.

I am also using this card for the following challenges:
Card Cupids Challenge - Use a punch
Magnolia Stamp Lovers Challenge - Flower Challenge
Simply Create #42 - Metal
C.R.A.F.T. Challenge #99 - Flower
SISC #56 - Metal
Delicious Doodles Challenge #22 - Anything Goes
All That Scrap Challenge - Anything Goes
MIM #34 - Anything Goes
Stamping Scrapping Challenge - Anything Goes
Sparkles Forum Challenge #10 - Anything Goes

Here is my finished project.


Closer view of this cute Cowgirl Tilda


Here is the iniside of this card. I applied a carousel Jolee embellishment for the inside to keep it under the same theme. See that Ticket stamp from the Bon Voyage Collection. I just wanted to add this as the ticket for the carousel ride.


Side view of this card

I hope you all can join us and by challenging yourself to create a project with the inspiration photo. Thank you for stopping by and enjoy the rest of your week :o)

Saturday, April 23, 2011

PWCO Animal Celebration Card

Happy Saturday and happy Easter weekend!! Hope you all had a fun time blog hopping yesterday and don't forget you still get to hop around and check out the new stamp collection.

This week is a long weekend, but I am so busy as my sisters from USA are here for visit. Good thing I prepared projects before they arrived. Here is one of the projects I prepared before they arrived. While the new Cutie Patootie Collection released yesterday, I also wanted to show you some older PWCO stamps as well. These stamps I used today is from the Safari Friends Collection. Please check out Gordie the Giraffe and Zoie the Zebra.

I am also using this card for the following challenges:
Fun with Shapes and More Challenge #81 - Animals
A Spoon Full of Sugar Challenge #148 - Lets Celebrate
Scrapbook Sisters Challenge #32 - Buttons
Bloggers Challenge - Ribbon & Lace

Because I wanted to fit a few more images on my card, so instead of using the full image, I punched them out, then colored them.

Here is my finished card


Closer view on these cute images


Side view of this card


View of the inside


Flat view to show you the dimension of this card


Stamps: PWCO Gordie the Giraffe, Zoie the Zebra
Ink: Memento, Copics
DP: DCWV
Accessories: buttons, lace trim, ribbon, metal sentiment

Hope you like what I prepared for you today and don't forget to check out the new release collection and continue to join us for the blog hop :o)

Friday, April 22, 2011

PWCO Cutie Patootie Collection Release Blog Hop

Good morning and welcome to the PWCO's new Cutie Patootie Collection release blog hop!!! If you are coming from Peggy's Blog, you are in the right track, otherwise, please go back to Peggy's blog to start this hop. You can also scroll down to see the complete list order of this blog hop.

****WANT TO WIN STAMPS?*****
For this blog hop, Peggy is going to pick out random commenters for each of the DT's blogs to give out 6 stamps (one of each style) for random commenters, so please leave a comment for each blog you visit for a chance to win these fabulous stamps :o)

There are 6 stamps of this Cutie Patootie Collection releasing this time. For my samples today, I used the UP UP AND AWAY and SWIMMINGLY YOURS on my two projects. Please scroll down for details on these projects.


PROJECT #1 - UP UP AND AWAY
Here is my finished card. Since this is a kite flying mouse, it reminds me of the sky, so I stamped a cloud sky background. Secondly, I think this image is good for both girl & boy theme card. Therefore, I don't want to make it too girly, so I picked the brown & blue color combo.


Closer view on this cute image


Side view of this card


PROJECT #2 - SWIMMINGLY YOURS

It's always fun to do summer theme card, because it always looks more bright and cheerful. As this one related to water, I used the glossy accent to add some watering effect on this one.


Closer view on this image and you can see the watery effect better with the glossy accent


Side view of this card

Thank you for stopping by and your next stop will be over at our wonderful DT DANIELLE'S BLOG. Have fun check out what fabulous projects Danielle have for you :o)

COMPLETE BLOG HOP LIST: