Sunday, April 1, 2012

Magnolia Baby Theme Edwin & Tilda projects

Good morning. Time flies and it is already April. That means it's another month of the Magnolia-licious Highlites Challenge. This month's challenge is hosted by the coloring Diva RUBY. Ruby wants to create project(s) with the baby theme. I got some cool dies from Magnolia-licious.
Here are my finished projects


Here is the baby girl theme card with Baby Tilda. You can see the cute duckling DP is the Princes and Princess Paper Pack. I used the Memory Box Orchard Tree Frame Die. Besides the butterflies punches, I also added some leaves from Memory Box Tender Leaves Die.
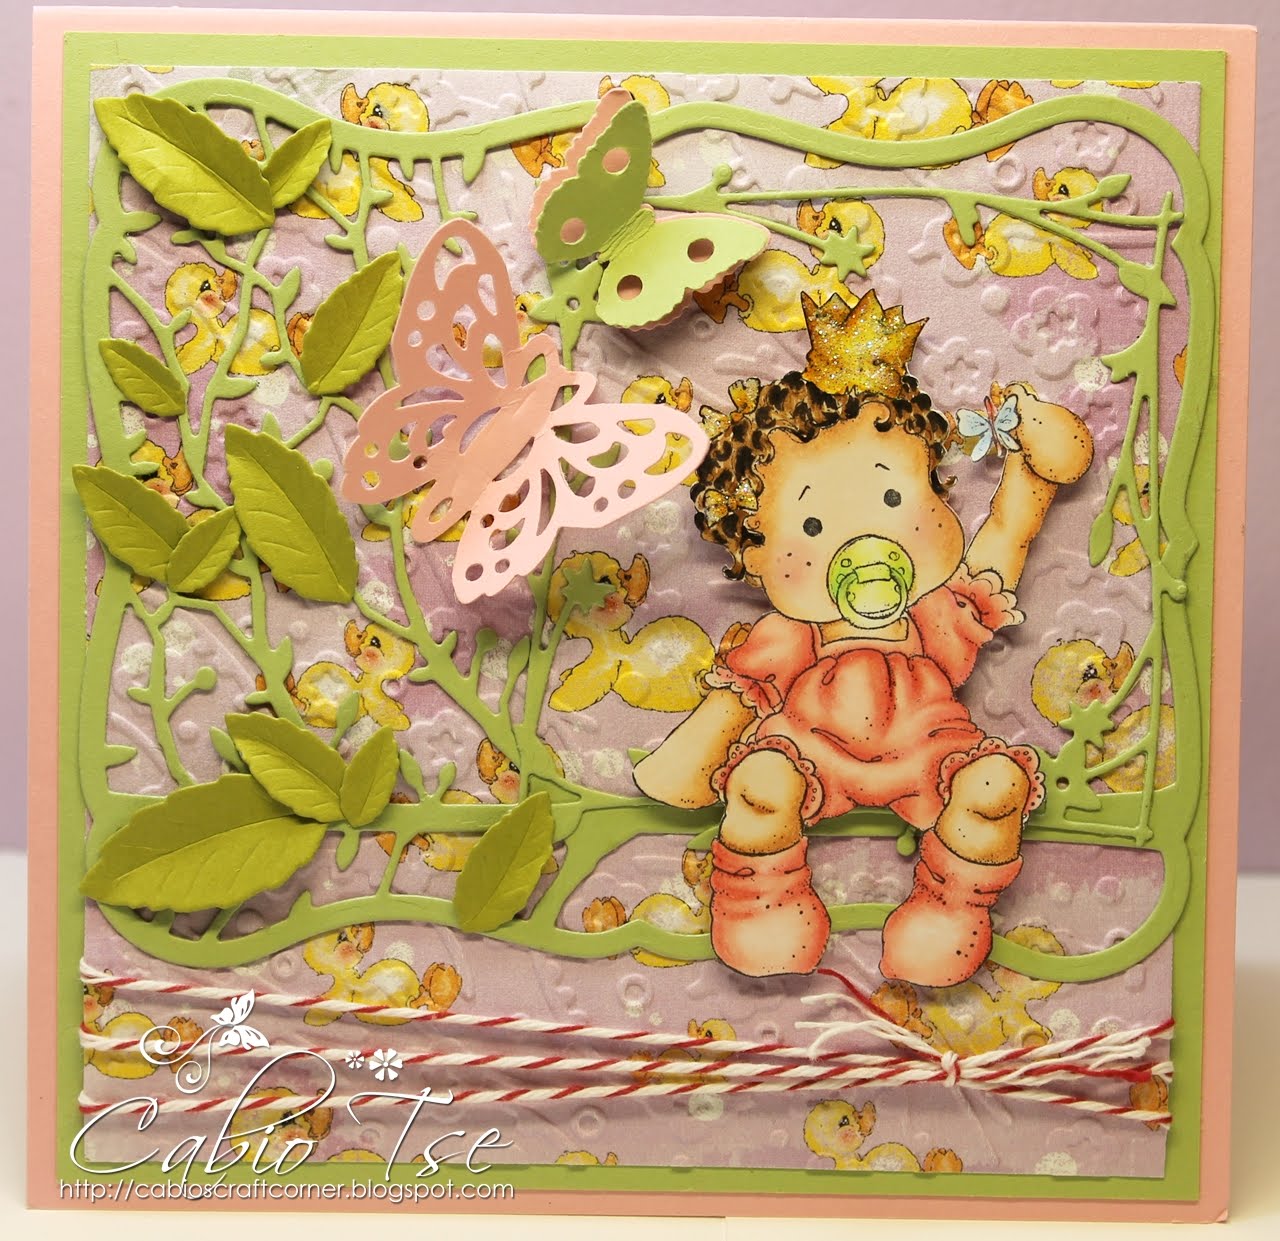

Closer view of Baby Tilda's image and the die cuts


Here is the baby boy theme card with Baby Edwin. The cute ducky DP is from the Magnolia Prince and Princess Paper Pack. Besides the stars punches, the big die cut frames is the Memory Box Twirling Vine Frame Die.


Closer view of Baby Edwin's image


Side view of these cards

Closer view of these baby shoes & booties. I also stamped the baby Tilda's image on a baby wash cloth and colored it with Copic markers. For your information, these are the link I googled and found templates of the shoes & booties. On the Boy's booties, there are 3 pieces, but I didn't use the center flip piece.


Thank you so much for stopping by today. Hope you have time to join us for the Magnolia-licious Highlites Challenge. Be sure to check out my fellow DT sisters' blogs to have more inspirations on this challenge. See you soon :o)

Thursday, March 29, 2012

Tilda by Princess Castle Party Invitation Card

Good morning everyone. Another card to share with you today is using more images from the newest Magnolia Princes and Princesses Collection. Besides coloring the Party Tilda with Copics, I also did airbrush on the background on the Princess Castle image. Boy oh boy, I sure had fun cutting the little clouds and adhered them after, lol

Here is my finished card


I am using this card for the following challenges:
Truly Scrumptious Challenge 77 - Lace
Simon Says Challenge - Anything Goes
Stamp n Doodle's Challenge - Embossing
Party Time Tuesdays Challenge PTT 61 - Anything Goes
Magnolia Down Under Challenge 139 - Bingo (Lace, dies/or punches, Ribbons)
Make It Monday Challenge 82 - Anything Goes
One Stitch At a Time Challenge 106 - Anything Goes
Creative Mondays CH4 - Anything Goes

Closer view on these colored images


Here are some pictures to show you how I airbrushed the background of this card. First, stamp the Princess Castle image on a piece of cardstock (I use the XPress it blending card). Then stamp image one more time on a piece of paper (can be scrap or a thin paper), cut the castle image out from the scrap or thin paper. Use removable adhesive to cover the cut out castle on top of the castle image of the XPress it blending card. Using the Airbrush to spray the top sky part with blue color.


Use Green color to spray the bottom part as grass field. After finish all the airbrushing, remove the cover image, then start coloring the castle as usual using Copic/Primascolors pencils. I also wanted to mention the Stay Put Craft Mat here. That is the kraft mat you see under the image. OMG, I can't tell you enough how much I love this mat. It's very thick, not like the flimsy ones that thin like a piece of paper. This mat is totally wonderful. It has a good rubber feel layer at the bottom that allows a good grip between the mat and my craft desk, so it wont' shift things around. If you haven't get one yet, I highly recommend it!! Very easy to clean up too~

I used the Please Join Princess sentiment inside as a party invitation


Side view of this card


Inside view. The bottom space is to fill in the time & place info.


Flat view showing you the dimension of this card


Thank you for stopping by today and see you again soon :o)

Monday, March 26, 2012

Magnolia Tilda's Spring Treats Holder Card

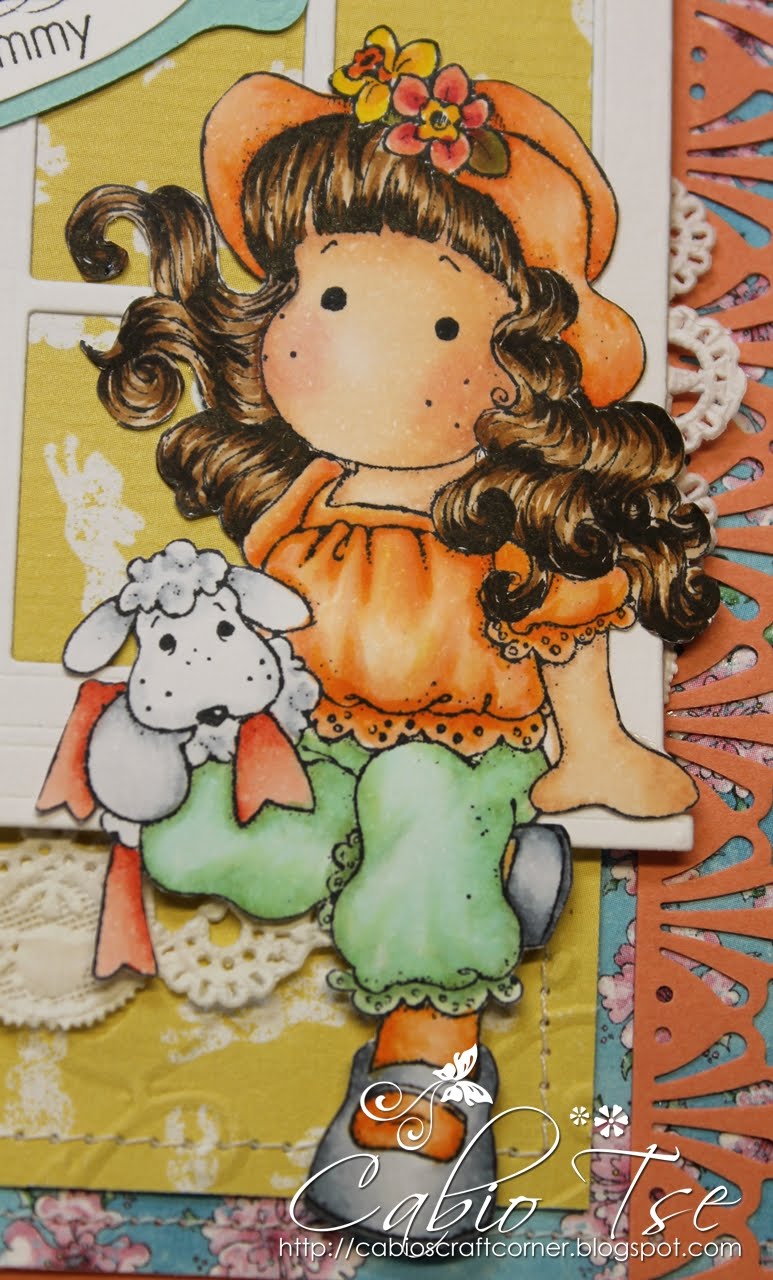
Spring is here and we finally see more sunshine lately. How about another Springy project. Today's project is chocolate eggs treat holder card. Checking my stamp inventory, I took out Tilda with Stuffed Animal from the Butterfly Dreams Collection. The inside image is Tilda with Peony Tails. It's a treat holder card, so I picked a treat related Magnolia Sentiment to go with it.
Here is my finished project. The window is cut out from the Grande Madison Window Die Cutter. My DP is Magnolia Paper Pack from Magnolia-licious.

I am using this project for the following challenge:

Closer view of the sentiment


Here is the inside


Another view of the inside of this pocket holder

Closer view on the embellishments.


View of the inside


Here is the view to show you when the card is closed.


Thank you so much for stopping by today and hope to see you again soon :o)

Tuesday, March 20, 2012

Magnolia Tilda with Floating Hearts Love birthday card

Hello Maggie Lovers. Hope you had a great time blog hopping from my last blog post. Tonight is a card project using another image from the new Princes and Princess Collection. I think this Tilda with Floating Hearts stamp from Magnolia-licious is so sweet. There are also the baby Tilda & Edwin stamps from this collection that are so adorable as well, but I have to share them with you some other times due to quite a few prescheduled blog post orders .

Normally, my favorite size of cards are mostly 5 1/2" x 5 1/2". However, this one is 6" x 6" due to the large border punch I used. Besides the punch, I used lots of die cuts too. Since there are lots of textures from all the die cuts, I didn't do any embossing to add more textures.

Here is my finished card.


I am using this card for the following challenges:
Paper Creations Ink Challenge #21 - Things with Wings
The Crafter's Cafe Challenge - March Ribbon or Lace
Send A Smile 4 Kids Challenge - Things with Wings
Stampin with the Dragon Challenge #6 - Things with Wings
Let's Ink it Up Challenge #21 - Flowers
PanPastel UK Challenge #10 - Add a Flower
Sentimental Sundays Challenge #94 - Metal (metal charm)
Gingerloft Challenge GL36 - Happy Birthday
Bloggers Challenge - Birthday
So Artful Challenges - Harlequin and/or black & white
Fashionable Stamping Challenge #17 - Bingo (Show some metal, lace, words)
Papertake Weekly Challenge - Bingo (Flowers, punched shapes, Lace)

Closer view of this sweet Tilda image on the left. I colored her with Copic markers & shading with Prismacolor pencils. You can see on the right a closer view of the little cute 'love' charm I got from my sweet friend SUZAN. The pretty rosy lace trim on this card is also from her. Thank you SUZAN!!

Here is a closer view to show you the Magnolia Doohickey Cutting Die from Magnolia-licious, but there are more of other die cutters, so be sure to check them out.


Side view of this card


Flat view to show you the dimension of this card


Copic Information
Skin - E11, E00, E000
Hair - YR24, YR14, Y08, Y00
Hair Bow - R08, R02, R11
Shirt - B14, B12, B01, B00
Wings - YG03, YG01, YG00, YG0000
Pants - C5, C3, C1, C00
Socks - YG03, YG00
Shoes E33, E21, E00

Shading with Prismacoloring Pencils and chalk for cheeks

That's all I have for today and hope you like it. Thank you so much for stopping by and see you again soon :o)

Monday, March 19, 2012

Magnolia-licious The Easter Bunny Blog Hop Bunny Tilda Easter Basket & Card

Welcome to the Magnolia-licious Easter Bunny Blog Hop for the month of March. If you are coming from the talented JANIEL'S BLOG, you are in the right track, otherwise, please go to the Magnolia-licious Highlites Blog to start this hop. This month's theme is "The Easter Bunny Hop", so we are creating fun/cute packages, bags or boxes for Easter eggs/treats.

My project today is a basket & card set using some bunny stamps. Digging through my stamp inventory, I found that I had a few from Magolia-licious. I colored the Little Bunny Tilda for my card, then checked out my mini stamps binder and picked four more for my basket. The mini version of the Little Bunny Tilda and the Bunny Tilda is sit on the Easter Egg are set on the side edge, then I also used the Tilda with Daisy for the side tag.

Here is the finished Easter Bunny card & basket set


Here is the full view of the card. I tried to pick some spring colors.


Closer view of the image and I took a closer view of some lace flower accents.

Side view of this card


Here is a closer view of the basket. I used 6 pieces of mini envelopes Sizzix cuts to assemble the basket. Embossed the yellow DP and put a bow on each piece.


Closer view of the four mini Magnolia images.


Side view of this basket


Closer view of the embossed DP and a bow on top


Inside view of this basket


Thank you for stopping by and your NEXT HOP IS TO WONDERFUL SUZANNE'S BLOG. Have fun blog hopping and hope you can join us along :o)